Pages

Friday, August 27, 2010

It's about time we had some babies on here, and my friend Lara's triplets make the perfect models! Gwennie, Mae and Leo are just over a year and are very busy little bees, investigating everything in their path. Its the ideal time to get babies exploring ingredients and it can help keep them busy whilst you are doing the cooking.


The more familiar children get with food and start to recognise what it is, the happier are to try it.
Choose strange shapes or funny textures, or fruits and vegetables that have a strong smell.


I don't need to tell you not to give them anything they could choke on - they will probably have a go at putting the food in their mouths, so give it a quick wash before you let them loose.

Wednesday, August 18, 2010

Superjam!

I was over the moon last week to learn about the publication of 'Superjam'. The author, Fraser Doherty, started selling jams as a teenager in Scotland, and now sells a range of delicious Superjams made with fruit juice instead of sugar and using nutritious ingredients such as blueberries and cranberries.

I've been wanting to make jam with the girls but was put off by the huge amount of sugar necessary. So, copy in hand, and in anticipation of a wet afternoon with my children and 2 of their friends to entertain, I decided to launch our jam making careers with the Stawberry and Pomegranate jam.


The children had fun preparing the ingredients and I boiled up the jam whilst they were having a bounce on the trampoline (luckily the rain stayed away). We did the test recommended by Fraser of running jam onto a cold plate to see if it set, and then I poured it into jars with labels decorated by the chidlren.


I couldn't believe how easy it was, even with 4 children. The book explains all the stages, in simple terms. The hardest bit was finding grape juice, but we tracked some down to Tescos who keep it in stock.


5 first-time jam makers were very pleased with their achievement and the jam tastes delicious. I can't wait to make the lemon curd, the orange and passion fruit marmalade and the plum and elderberry jam using the berries from our garden. Watch this space!

Tuesday, August 10, 2010

ROCKETS (Sweetcorn)

Sweetcorn cobs make a great 'toy' for young children, especially on a wet day like today. You could explain that as it's been a lovely hot summer the corn has grown nice and juicy and fat and ready to eat, and that this is the best time to eat sweetcorn as it is in season. Hopefully the video gives you an idea of how much fun can be had with 2 children and a couple of cobs.....

If it's still raining after lunch, you could teach your children about the other ways sweetcorn is eaten. A tin from the cupboard, frozen corn (mine love eating it like little yellow lolly pops) and the old favourite, popcorn.


Rainy day popcorn

Popcorn is so simple to make at home, you don't need a fancy popcorn maker, just a saucepan with a lid.

You will need:

100g popping corn
2 tablespoons of sunflower oil
50g butter
50g honey

1. Heat the oil on a medium temperature, and drop in one kernel as a tester. When it pops, the oil is ready.

2. You will want to keep your child well back for the popping, but explain what you are doing. Tell them to listen out for when the popping stops. Pour all the corn into the saucepan, put on the lid, and shake occasionally to keep the corn popping.

3. When the popping has finished, get your child to help you weigh out the honey and butter, and then put it in a saucepan and melt together.

4. Pour the honey and butter over the popcorn and divide into 4 bowls. You'll have at least 10 minutes peace whilst happy children munch.

For a delicious savoury version, melt 50g of butter with 10g of marmite (use more marmite if your children like a strong marmite taste.) Stir through popped corn.

Wednesday, August 4, 2010

p...p...p...Pesto

I recently heard Pesto described as the new ketchup. This is due to it's ability to encourage even the most reluctant child to eat-up as long as it is smoothered in the green stuff. It couldn't be simpler to make your own with your child, and it will mean that you are avoiding the extra salt and additives that the branded jars contain.
You will need
25g of basil (washed)
1 clove of garlic
50g of pinenuts
50g parmesan
100ml of olive oil

1. Let your child pick the basil leaves and put them into a bowl.
2. Now show your child how to peel off the garlic skin and let them have a go. Add to the bowl.
3. Weigh out the parmesan together and then let your child grate it into the bowl.
4. Weigh out the pinenuts together and add to the mixture.
5. Measure out the oil together and add to the other ingredients.


6. It's as simple as that. Now, using a stick blender or mixer, whizz everything together. Explain to your child that mixers are dangerous but you could let them turn the button on themselves.

Store in the fridge, it will keep well for about 10 days.


We eat pesto with everything, smeared on a chicken breast, stirred into basmati rice or baked on top of a salmon fillet. When you make your own it will be bursting with vitamins, store some good protein in the pinenuts and there are antioxidants in the garlic . So, stirred into pasta with a couple of peas thrown in for good measure, it's a meal in itself. Round of applause for the green stuff!

Friday, July 30, 2010

Beach biscuits

The holidays are here, so its time for easy-to-cook-food. Slow energy sources like oats are the perfect snack for children running around at the park, on the beach or whizzing around on bikes.
These biscuits are easy to make with your child and will last for several days in an airtight container. The ingredients are measured in mugs (just use a standard size coffee mug) so they are ideal for making in a caravan or self catering cottage.


And if the weather breaks...these are equally good eaten in a den under a quilt on a rainy day. Enjoy!


You will need:


125g butter (½ a packet)
¼ mug of runny honey
2 mugs of porridge oats
½ mug of self raising flour
zest of 1 orange (or 1 tablespoon of orange juice)

Preheat the oven to 180C and tell your child that it is hot


1. Help your child weigh out the butter and honey, then melt them in a saucepan over a low heat - let your child watch the melting but warn them it is hot.

2. Weigh out the oats and flour into a bowl with your child, then stir in the butter and honey mixture.

3. Show your child how to zest the orange, then let them have a go, watching they don't grate their little fingers. Add to the mixture.

4.  Show your child how to make the biscuits – form little balls of mixture and then squash gently onto a baking tray. Then let them do it - don't worry if there are lots of different shapes and sizes!

5.  Bake for 8 -10 minutes and cool before eating.

Saturday, May 8, 2010

Dinosaur Dough (Rrrrrrr!)

I had lots of fun cooking at our local preschool this week - their theme was dinosaurs, so I made some 'dinosaur dough'. I shaped the dough  into dinosaur eggs and the children rolled it out and then cut out Tyrannosaurus and Stegosaurus shaped biscuits.

For decoration there were pumpkin and sunflower seeds for the spikes and pomegranate seeds for scary red dinosaur eyes. Lots of the children enjoyed tasting the seeds as they decorated the dinosaurs, and the finished biscuits looked great.


Dinosaur Dough

You will need:
115g butter
200g honey
Self raising flour
1 tablespoon of ground ginger
1 egg


Preheat the oven to 160c and tell your child that it is hot

1. Melt the butter and honey together in a saucepan over very a low temperature.
2. Weigh out the flour with your child into a mixing bowl and let them measure the ginger into the bowl.
3. Let your child make a 'well' in the flour and ginger, digging with a tablespoon.
4. Now help your child to break an egg into a bowl and whisk it.
5. Let your child watch your pour the butter and honey mix and the egg into the well, then stir a few times yourself before handing over to your child.
6. Bring the dough together and then turn out onto a surface with a little flour.
7. Show your child how to gently knead the dough until it comes together into a nice ball.
8. Get your child rolling and cutting out shapes.
9. Decorate with pomegranate seeds, pumpkin seeds and sunflower seeds - encourage them to try the dinosaur spikes and red eyes as you go, its amazing what they will try when it is play!
10. Bake for 15 minutes until golden

Wednesday, April 28, 2010

Easy squeezy


We've been making some little muffins today, using one of our favourite ingredients, an Ellas' Organic kitchen squeezy pouch.

The muffins are so easy to make, have no added sugar, and use olive oil instead of butter or sunflower oil. Delicious - and healthy too.


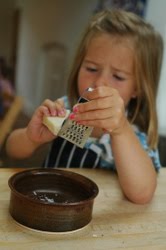
I cooked these with my toddler, who loves sqeezing out the goo from inside the pouch - it's a great way of improving dexterity, and satisfying for them to see the purple mush worm out.

She loved counting out the muffin cases into the tray, weighing out the flour, and putting sunflower seeds ontop of the muffins - although she is a bit impatient like her mother and decided that pouring was more time effective than sprinkling!

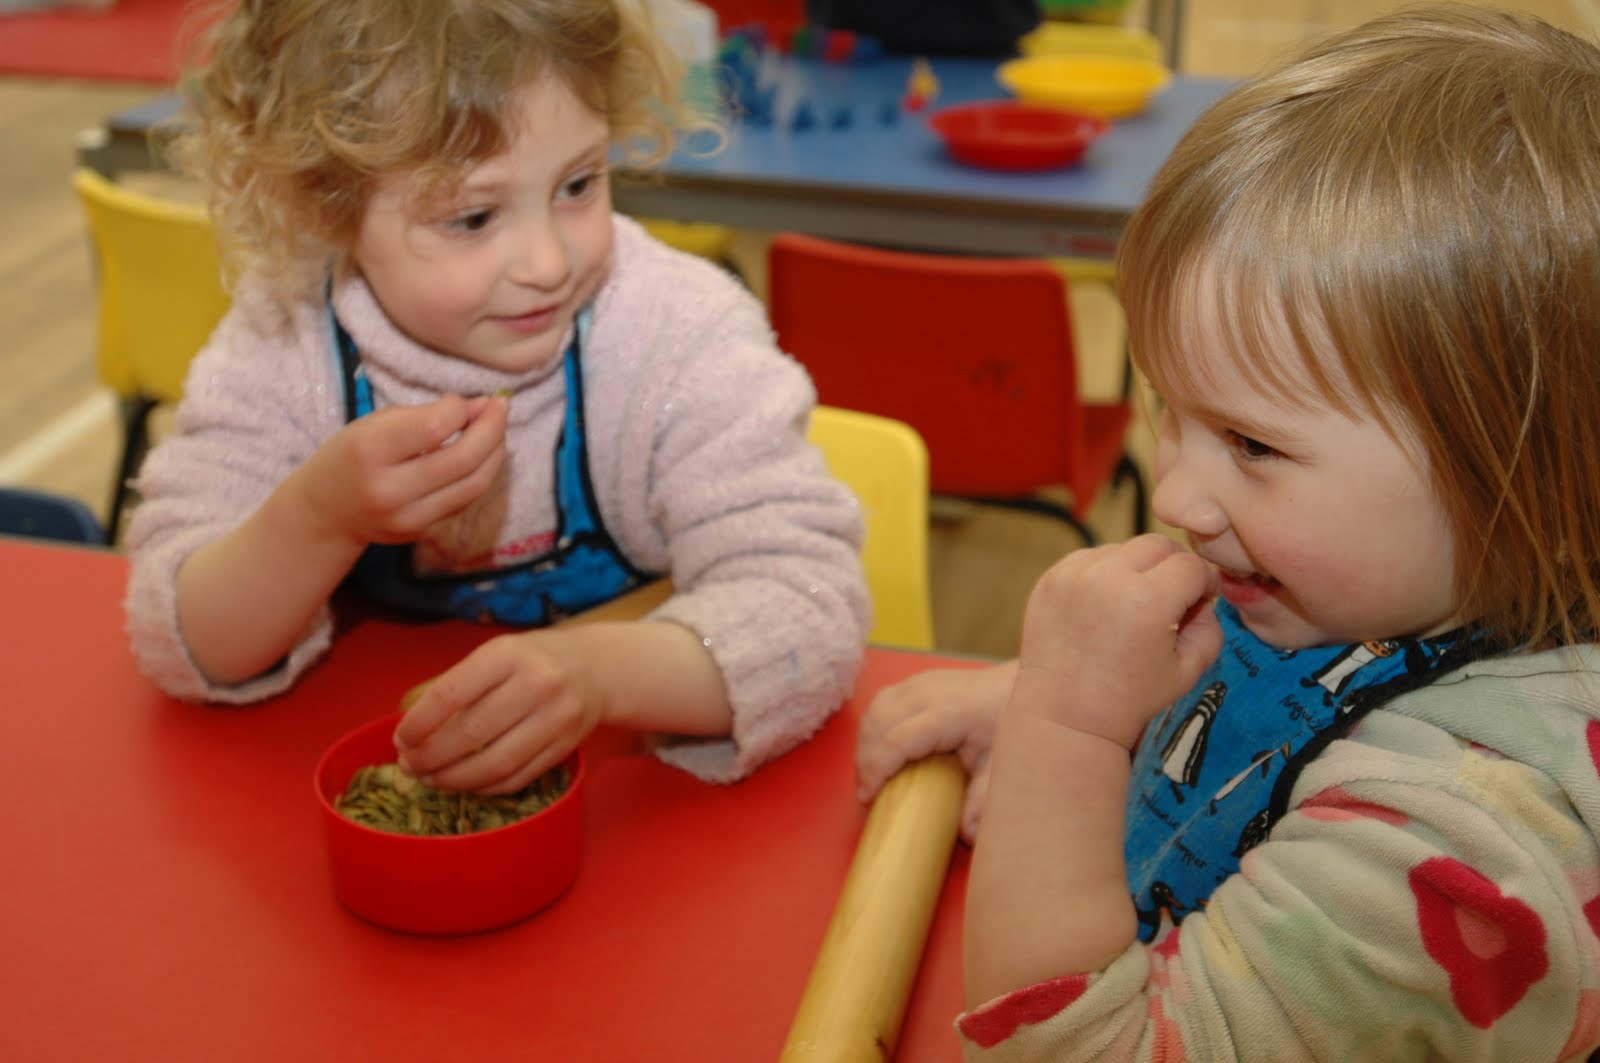
The finished product is a perfect snack for a hungry little person!

Easy Squeezy Muffins (makes 12 in a cupcake tray)

You will need:

150g self raising flour
Big pinch of cinnamon
1 large egg
60ml olive oil
90ml runny honey
120g fruit pouch (my favourite is Ellas' organic Sweet Potato, pumpkin, apple and blueberry
Handful of sunflower seeds

Preheat the oven to 200C and warn your child that it is hot.

1. Help your child crack an egg, and then let them whisk it.

2. Measure out 60ml olive oil and let your child pour it into the egg and whisk it.

3. Measure out 90 ml honey and let your child pour it into the egg and oil, and whisk together.

4. Give your child the squeezy pouch and encourage them to squeeze it into the bowl with the egg, oil and honey and then whisk together.

5. Weigh out 150g flour with your child into a bowl and let your child pinch in a little cinamon.

6. Pour the oil/egg/fruit into the bowl with the flour and let your child mix briefly until the lumps disappear - you might want to give it a quick stir yourself at the end to make sure that it is all mixed in.

7. Let your child help you spoon the mixture into cases - scoop up any spilled mixture back into the cases.

8. Sprinkle the tops of the muffins with a few sunflower seeds

Bake for 12 minutes until golden.

Friday, April 23, 2010

Cooking alfresco

We had some friends over this afternoon and we did some cooking in the garden - always a good idea as mess seems less important when we are outside! I had some sweet potatoes so we made sweet potato squares by cutting them up, drizzling olive oil over them, sprinkling a little rosemary and roasting them.

We had fun investigating some purple carrots from our veg box today - turns out the outside of the carrots are purple, but the insides are orange. The children weren't convinced about trying them as they don't look that attractive when cooked, but when they did they decided they tasted just like normal carrots and tucked in.


For tea the children had sausages from the local farm shop, the sweet potato, purple carrots and sweetcorn - (although there wasn't much sweetcorn left after they had nibbled on the frozen sweetcorn, I think they think it is like little yellow lollipops.)

Apparently its supposed to be a gorgeous weekend, lets hope this weather lasts!


Sweet potato squares
You will need:

1 Sweet potato between 4 children
Some olive oil
A little rosemary

Preheat the oven to 200C and tell your child that it is hot.

1. Before you cook together, peel and cut the sweet potato into slices about 1/4 inch thick, and then cut the slices into small cubes.

2. Let your child drizzle some olive oil over the cubes, just enough to coat them. I use a ketchup squeezy bottle which stops too many spills.

3. Show your child how to pick the rosemary and squish it between their fingers to release the oils before sprinkling it over the top of the sweet potato - you don't need much but a little bit will give it some flavour instead of salt

4. Cook in a baking tray for 45 minutes

These are also delicious with chicken and white fish.

Wednesday, April 21, 2010

Fishtastic

Helping to make their own food should get most children trying fish. This recipe is so easy and children from toddlers up can get involved with crunching the Weetabix and dipping the little pieces into the flour. Hope you have fun!

Crunchy Salmon

You will need:

2 fillets of salmon
1 egg
2 Weetabix or Oatabix
A little flour
Preheat the oven to 190 and tell your child that it is hot!

1. Before you start cooking with your child cut your salmon into small pieces and put it in the fridge.


2. Now get your child to crunch 2 weetabix into a bowl.


3. Help your child to crack an egg into a bowl and then let them whisk it.


4. Put a little plain flour into a bowl.

5. Let the production line begin!

Show your child how to dip the salmon piece into the flour first, then into the egg, then into the weetabix. Put the finished pieces into the fridge until you are ready to use them.


6. Bake for 20 minutes until golden and serve with potatoes and vegetables for a really balanced meal.

Tuesday, April 20, 2010

Cooking party for 2 year olds

Today was my baby's birthday party, I can't believe she is 2!  She loves cooking so we had a cooking party and her little friends came along and all got a little messy.


They made pizzas by cutting out puff pastry in lots of shapes - dinosaurs, planes and hearts were popular. Then they had fun exploring the toppings - pesto, tomato, orange peppers, mushrooms, parsley, ham and cheese to grate themselves - there were some lovely creations, each one different.
For pudding I made an 'icing' out of Greek yoghurt and honey. They spooned it on top of homemade cupcakes and then decorated them with strawberries, blueberries, raspberries, a few chocolate stars and pink sprinkles. Everyone seemed to have fun, and it was lovely to see them all practising their cooking skills.


To make the icing, mix together 125ml of Greek yoghurt with 1 tablespoon of runny honey. Put in a bowl with a teaspoon and let your child get spoontastic with it - it's very easy for them to spread, much easier than normal icing and much healthier too! Any fruits go well on top and if you want to make it even more nutritious let your child sprinkle on some chopped nuts.